MacにHomebrewをインストールする方法&確認方法&使い方
MacにHomebrewをインストールする方法を教えます。
コマンド一回叩けばOKなので、誰でも簡単です。
目次
Homebrewのインストール方法
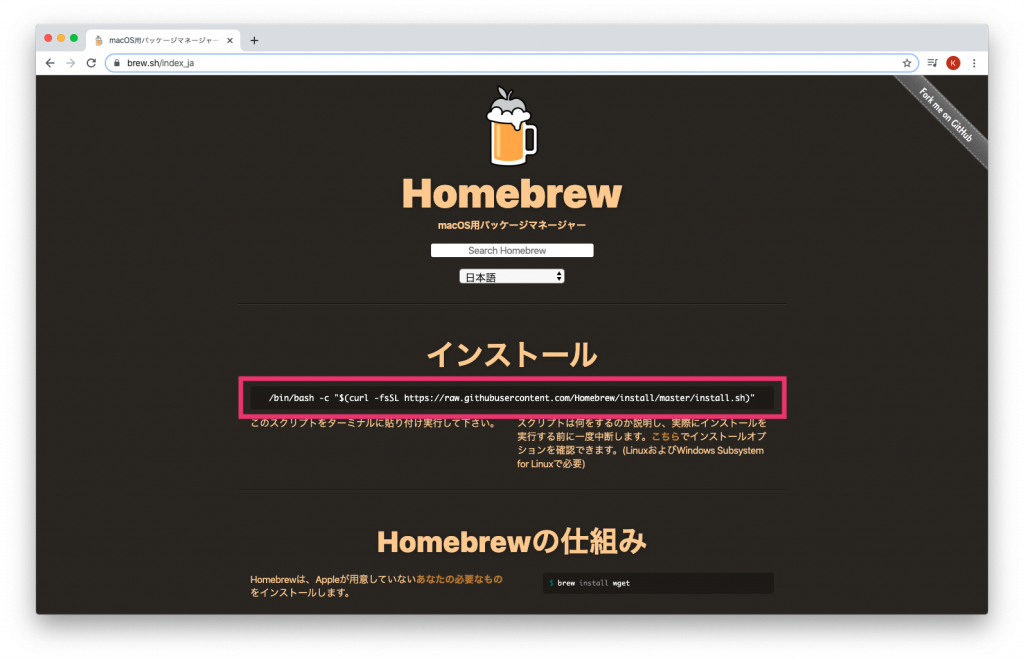
まず、Webブラウザ(Google Chromeなど)を開いて、以下のURLにアクセスします。

Macのターミナルを開いて、赤枠で囲ってあるコマンドをターミナルに貼り付けて、実行しましょう。
/bin/bash -c "$(curl -fsSL https://raw.githubusercontent.com/Homebrew/install/master/install.sh)"途中でMacユーザーのパスワードを聞かれます。
以下のメッセージが出たら、インストール完了です。
==> Installation successful!

==> Homebrew has enabled anonymous aggregate formulae and cask analytics.
Read the analytics documentation (and how to opt-out) here:
  https://docs.brew.sh/Analytics
No analytics data has been sent yet (or will be during this `install` run).

==> Homebrew is run entirely by unpaid volunteers. Please consider donating:
  https://github.com/Homebrew/brew#donations

==> Next steps:
- Run `brew help` to get started
- Further documentation:
    https://docs.brew.sh
Homebrewのインストール確認方法と使い方
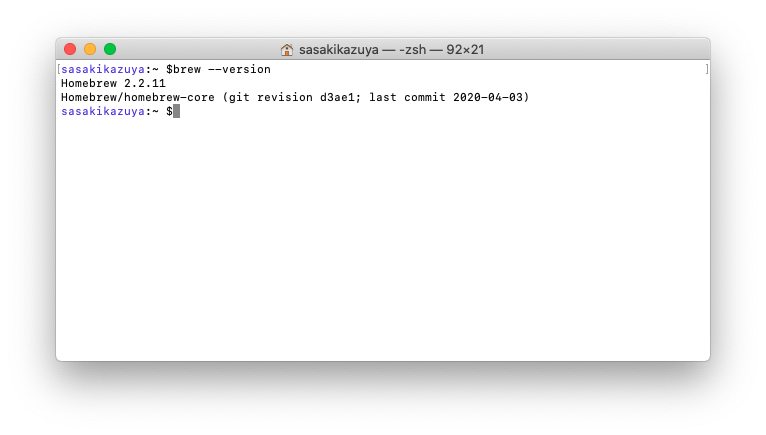
Homebrewがインストールされたかどうかは、以下のコマンドで確認できます。
brew --version以下のようなバージョン情報が出力されればOKです。

Homebrewの使い方
Homebrewは、パッケージ管理ソフトです。
インストールしたいものがあれば以下のコマンドを実行することで、インストールできます。
(例)hogehogeをインストール
brew install hogehoge他にも以下のようなコマンドがあります。(以下、例:hogehoge)
インストールしたものをアップデートしたい時
brew update hogehogeインストールしたいパッケージがあるかどうかを検索
brew search hogehogeインストールしたパッケージをアンインストールする場合
brew uninstall hogehoge他のbrewコマンドを知りたい場合
brew --help以上、
Homebrewのインストールと確認方法及び使い方でした!
人気記事 Springbootの環境構築から Hello worldまで on Mac
人気記事 DockerでMySQLとphpAdminのコンテナを作るやり方
